
A damaged PS5 HDMI port can be repaired, and in most cases a qualified technician can restore full video output. Before you book anything, though, run the quick checks below. A surprising number of “broken port” reports turn out to be a faulty cable, a misconfigured TV input, or a soundbar in the signal path.
The short version: test your cable, try a direct connection to the TV, boot into Safe Mode to change video output, and check your display’s firmware. If you still get no picture after all of that, the port itself is likely damaged and you need a hardware repair.
What that repair costs and who should do it:
- Sony/PlayStation Repairs: the official route, best when you’re still under warranty. Turnaround tends to be longer, and out-of-warranty jobs can run higher than a local shop.
- Professional third-party shop (recommended for most owners): faster turnaround, transparent pricing, and board-level expertise. Kronnos-technology handles exactly this kind of repair.
- DIY: lowest parts cost, but requires a hot air rework station, micro-soldering experience, and voids your Sony warranty. Realistic only for experienced electronics technicians.
If the quick checks don’t resolve the issue, the clearest next step is a professional diagnostic. A good shop will tell you within hours whether you need a simple connector swap or something more involved.
Table of Contents
- How do you know if your PS5 HDMI port is actually broken?
- What does a PS5 HDMI repair actually involve?
- What are your repair options: Sony, a pro shop, or DIY?
- DIY repair: what it actually takes, and when to walk away
- How much does a PS5 HDMI port repair cost in the U.S.?
- How do you choose a repair shop you can actually trust?
- Key Takeaways
- Why professional repair is almost always the right call for PS5 HDMI problems
- Kronnos-technology handles PS5 HDMI repairs so you don’t have to guess
- Useful sources and where to find parts and official support
How do you know if your PS5 HDMI port is actually broken?
Most people skip straight to “the port is broken” when the real culprit is somewhere else in the signal chain. Work through this in order before assuming hardware failure.
Step 1: Check the cable and port opening. Look inside the PS5’s HDMI port with a flashlight. Bent pins, debris, or a visibly cracked housing are immediate red flags. Then inspect the cable itself for kinks or a loose connector. Sony recommends using the Ultra High Speed HDMI cable included with the PS5 for initial testing, though an older cable can still confirm basic output.
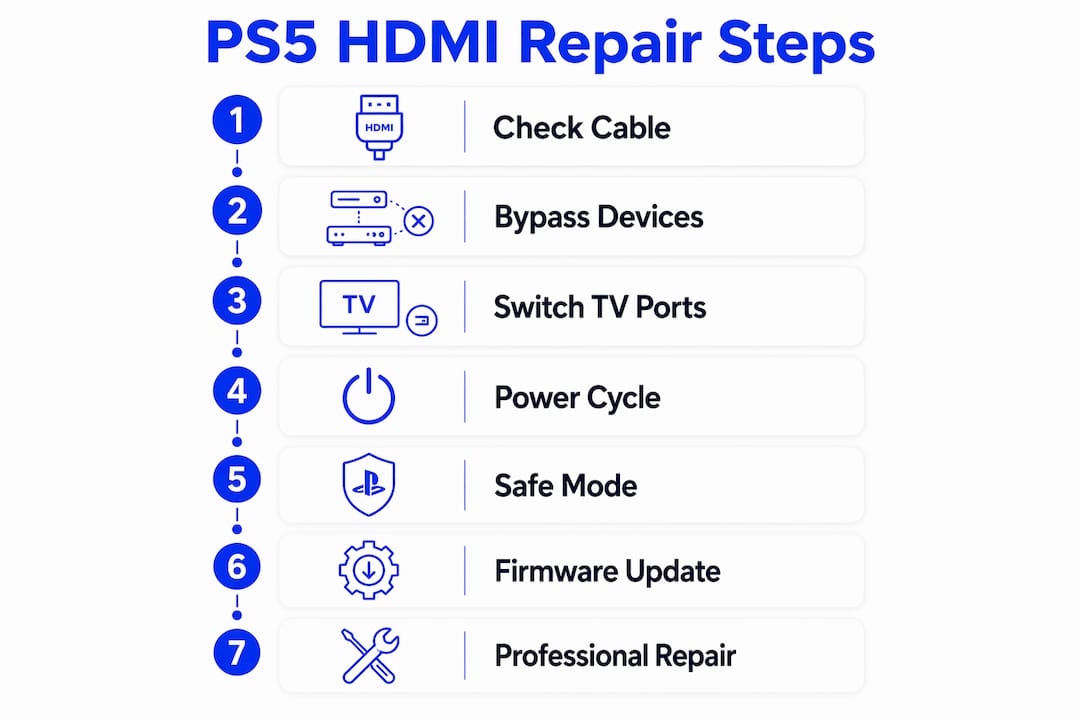
Step 2: Cut out the middlemen. Disconnect any soundbar, AV receiver, capture card, or HDMI splitter and run the console directly to the TV. Pass-through devices are a frequent source of failures that look exactly like a dead console port. This single step resolves the problem more often than most owners expect.
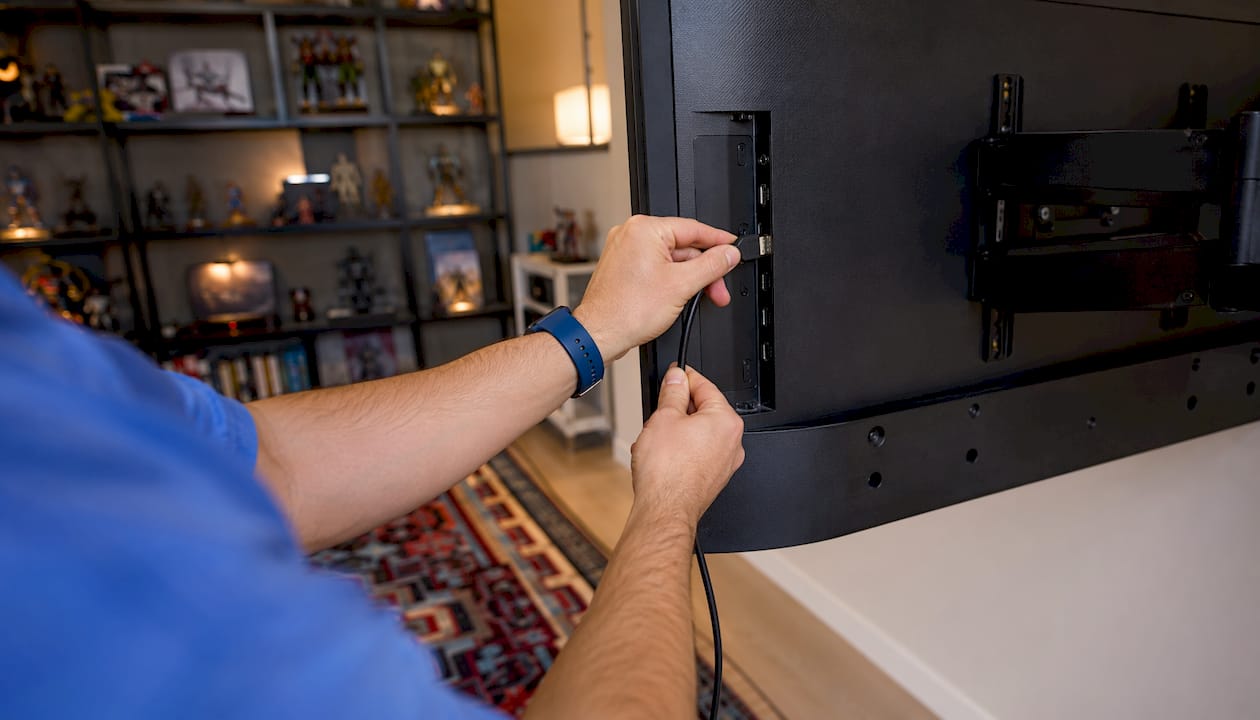
Step 3: Try a different HDMI input on the TV. Switch to a different port on the display and confirm the TV’s input mode matches. Some displays require HDMI 2.1 mode to be manually enabled for high-bandwidth signals.
Step 4: Power-cycle everything. Hold the PS5 power button until it beeps twice, then unplug it from the wall for 20 minutes. Do the same with the TV. This clears residual power states that can lock up HDMI handshaking.
Step 5: Boot into Safe Mode. Hold the power button until the second beep, then connect a controller via USB and select Change Video Output. Safe Mode video changes can restore display when a resolution or HDR setting mismatch is causing a blank screen. If Safe Mode gives you a picture, the problem is settings, not hardware.
Step 6: Update firmware. Check your TV manufacturer’s site for a display firmware update. Sony’s own guidance flags that firmware updates on both the console and the display can resolve HDMI compatibility issues.
Before you send the console anywhere: photograph the port opening, note which cables and TV inputs you tested, and record what the LED status light does when you power on. That documentation shortens diagnostic time and can prevent an unnecessary repair charge.
Pro Tip: If PS Remote Play was already enabled on your PS5 before the HDMI failed, you can use Remote Play as a temporary workaround to access the console while you arrange a repair. It won’t fix the port, but it keeps you gaming.
What does a PS5 HDMI repair actually involve?
There are two distinct repair paths, and which one applies depends on what the technician finds during teardown.
Connector replacement (the common case)
When the HDMI jack itself is physically damaged — broken pins, cracked housing, lifted solder joints — a technician desolds the old connector and fits a new one. On some PS5 configurations this means replacing a daughterboard that carries the HDMI assembly, which is cleaner and faster than direct jack replacement. This is the repair most shops quote when you describe a wobbly or visibly damaged port.
Board-level repair (the harder case)
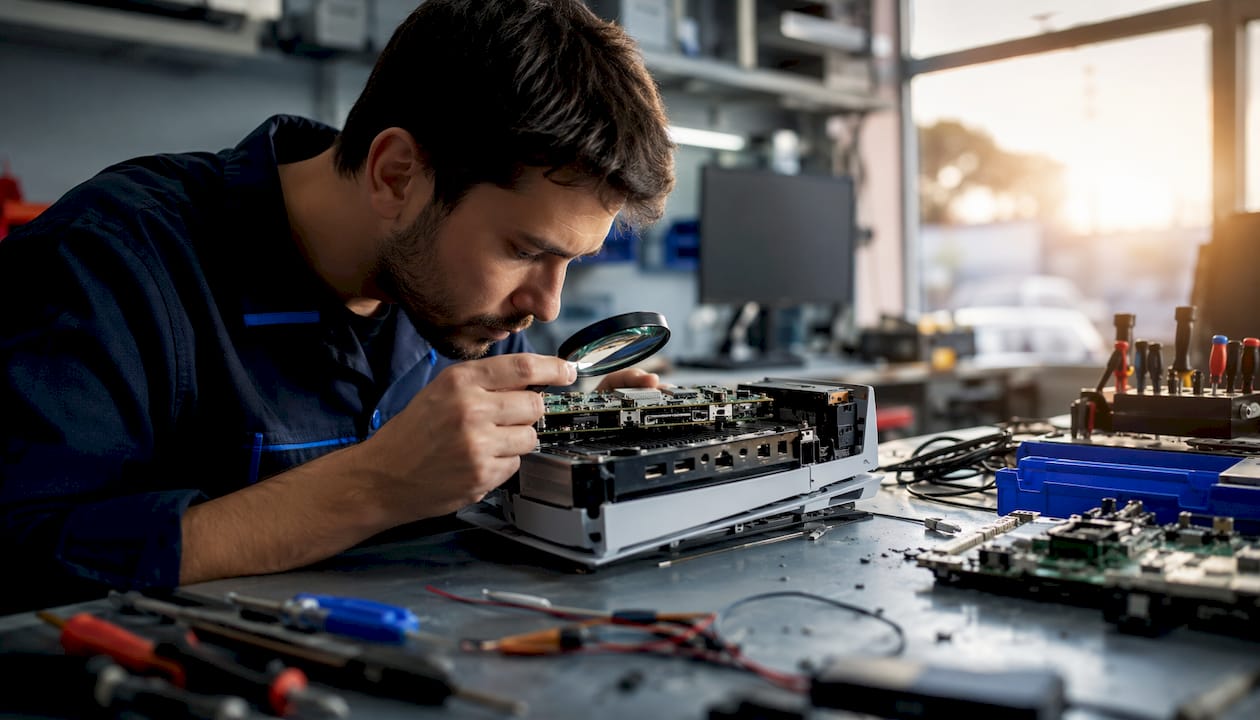
If the connector looks intact but output is still dead, or if the damage extended beyond the jack, the problem may be in the PCB traces, filter components, or the video codec. Technicians inspect the connector and adjacent components under magnification, checking for cracked solder joints, lifted pads, and damaged passive components. Many repairs that look like a simple connector swap also require reflow or replacement of nearby components to restore reliable output.
A technician’s reality check: heat is the biggest risk in any HDMI port repair. A hot air rework station applied without proper technique can delaminate a multilayer board, lift adjacent pads, or damage the video IC. When a connector replacement is done correctly, the repair is durable. When it’s done with the wrong tools or too much heat, the board can become unrepairable. The difference between those two outcomes is almost entirely experience and equipment.
What determines repair complexity:
- Mechanical damage only (bent pins, cracked housing, broken solder joints): straightforward connector swap for an experienced console tech
- Damaged PCB traces or lifted pads: requires micro-soldering and trace repair, higher difficulty and cost
- Damaged video codec or power delivery components: most complex, sometimes not cost-effective to repair
Safe Mode and software tools cannot fix any of the above. If the port is physically damaged, only hardware repair restores video output.
What are your repair options: Sony, a pro shop, or DIY?
Each path has a different risk profile, cost structure, and turnaround. Here’s how they stack up honestly.
Sony/PlayStation Repairs
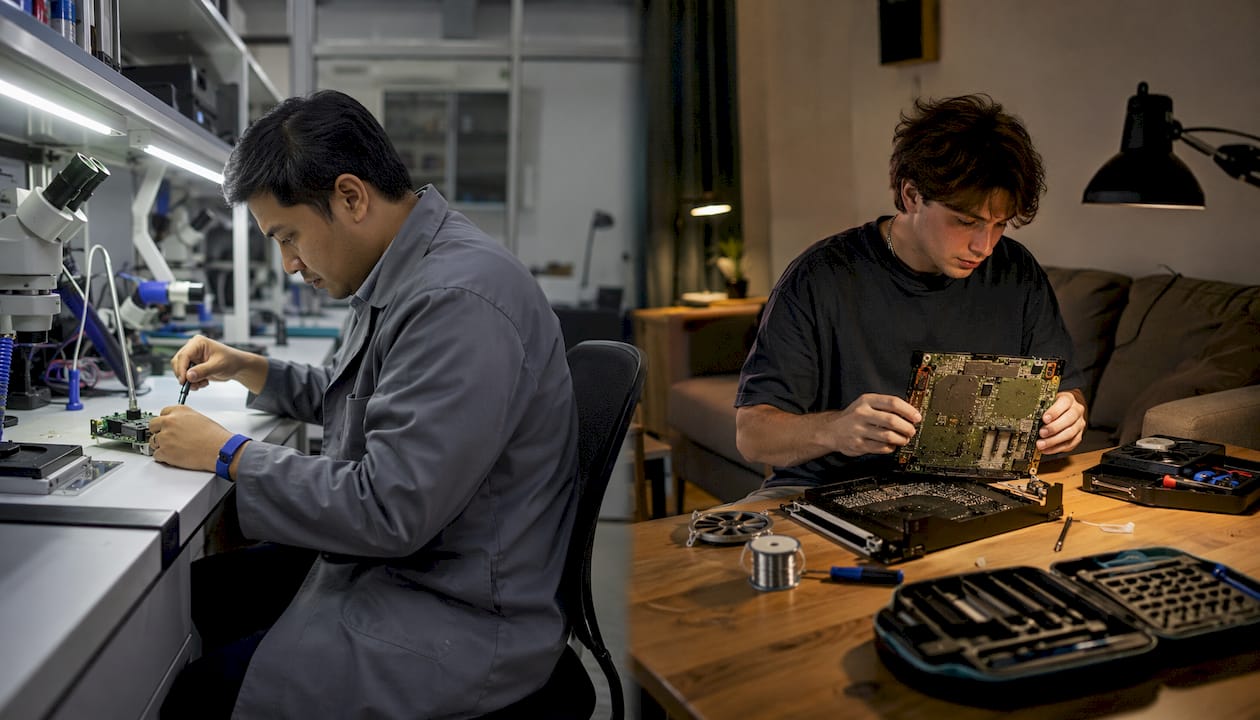
Sony’s official repair flow is the right call when your PS5 is still under warranty. Once the quick checks fail, PlayStation Repairs is the manufacturer-directed next step. You get official parts and a repair performed by Sony’s service network. The trade-off is turnaround: manufacturer repairs typically take longer than a local shop, and out-of-warranty HDMI repairs can cost more. If your console is outside warranty and you need it back quickly, this path is rarely the fastest.
Professional third-party repair (recommended for most owners)
A qualified local or mail-in shop offers faster turnaround, transparent pricing before you commit, and often the same board-level expertise as a manufacturer service center. The key word is qualified. Shops that perform in-house micro-soldering and offer a written repair warranty are a different category from general electronics retailers that outsource board work.
Kronnos-technology handles PS5 HDMI port repairs with board-level diagnostics, OEM-equivalent parts, and a clear repair warranty. For most out-of-warranty PS5 owners, this is the most practical route: faster than Sony, safer than DIY, and with pricing you know upfront.
On staged estimates: the most transparent shops offer a staged approach: diagnostic first, then connector replacement if that’s sufficient, then board-level rework only if needed. That structure keeps costs predictable and lets you decide at each step.
DIY
DIY is genuinely viable for one type of person: someone who already owns a hot air rework station, has soldered BGA or fine-pitch connectors before, and understands PS5 board layout. For everyone else, the risk of permanent board damage outweighs the parts savings. DIY also voids any remaining Sony warranty immediately.
If you’re in that experienced category, parts are available. The COMeap PS5 HDMI Port Replacement, available on Amazon, is a commonly referenced kit that covers both the standard PS5 and PS5 Slim. Verify the model fit before ordering.
What to expect at any professional repair intake:
- A diagnostic fee (often credited toward the repair if you proceed)
- Your console’s serial number and model
- Photos of the port damage and a description of symptoms
- A written estimate with turnaround and warranty terms before work begins
DIY repair: what it actually takes, and when to walk away
If you’ve decided to attempt this yourself, go in with clear eyes about what the job requires.
What you need before you start
- Hot air rework station with adjustable temperature and airflow control. A standard soldering iron alone is not sufficient for HDMI connector removal on a multilayer PS5 board.
- Micro-soldering iron (optional but useful for pad touch-up and trace repair).
- Flux (no-clean rosin flux, not paste flux) and desolder braid for pad cleanup.
- Precision screwdrivers (Torx T8 and T9, Phillips PH00) for PS5 disassembly.
- ESD mat and wrist strap to protect the board from static discharge.
- Magnification (a stereo microscope or at minimum a loupe) to inspect solder joints and pad condition.
- PCB holder or hot plate to support the board during rework.
The basic procedural steps
- Back up all save data to PS Plus cloud or a USB drive before opening the console.
- Fully power down and unplug the PS5. Remove the outer shell panels.
- Disconnect the battery/power connector and locate the HDMI assembly.
- Apply flux, use the hot air station to reflow and remove the damaged connector.
- Clean the pads with desolder braid. Inspect under magnification for lifted pads or trace damage.
- Fit the new connector, verify mechanical alignment, and reflow solder joints.
- Reassemble, connect to a display, and test video output before closing the shell.
Parts note: the COMeap PS5 HDMI Port Replacement comes in a two-pack and is listed for both the standard PS5 and PS5 Slim. Confirm your PS5 model (CFI-1xxx for standard, CFI-2xxx for Slim) before purchasing. Using the wrong connector variant can cause alignment failures even with clean soldering.
On tutorials: YouTube has full PS5 HDMI teardown videos, including the
walkthrough. Choose tutorials that show the full teardown, pad inspection, and a post-repair output test. Skip any video that skips the pad-cleaning step or doesn’t show the board under magnification.
The warranty reality: DIY voids your Sony warranty. If the repair goes wrong, a subsequent professional repair becomes significantly more expensive because the technician now has to correct your work before addressing the original fault.
How much does a PS5 HDMI port repair cost in the U.S.?
Prices vary by region and repair complexity, but the ranges below reflect what most U.S. owners encounter.
| Repair path | Typical cost range | Typical turnaround |
|---|---|---|
| Sony/PlayStation Repairs (out-of-warranty) | — | 2–4 weeks |
| Local/mail-in professional shop | — | 3–7 business days |
| DIY (parts only, tools already owned) | — | Same day (if successful) |
A few things to understand about these numbers. Costs for out-of-warranty hardware repair with Sony vary and can be higher for board-level work. Professional shops typically charge a diagnostic fee, which most apply as a credit toward the repair if you proceed. DIY parts cost is low, but first-time DIY attempts require a hot air rework station that can be a significant additional investment. That makes DIY cost-ineffective for a single repair unless you already own the tools.
Regional variance is real. Shops in major metro areas tend to have higher prices within the professional range, while smaller markets often have lower costs; however, board-level micro-soldering repairs generally command a premium everywhere.
The staged estimate approach is worth asking about specifically. A shop that quotes diagnostic → connector replacement → board-level rework as separate line items gives you cost control at each decision point. That structure is a trust signal in itself.
Software fixes cost nothing. If a Safe Mode video output change or a firmware update resolves the issue, you’re done. The table above applies only when hardware repair is confirmed necessary.
How do you choose a repair shop you can actually trust?
The difference between a good repair and a ruined board often comes down to the shop, not the part. Here’s how to vet one before you hand over your console.
Questions to ask directly:
- Do you perform micro-soldering in-house, or do you outsource board work?
- What warranty do you offer on the repair, and what does it cover?
- Are you using genuine or OEM-equivalent HDMI connectors?
- What is your diagnostic fee, and is it credited toward the repair?
- Can you provide a written estimate before work begins?
Trust signals worth looking for:
- Posted pricing ranges (even approximate) on the website or at the counter
- Technician credentials or verifiable years of console repair experience
- Before/after photos of similar repairs
- Customer reviews that mention specific repair types (not just “great service”)
- Clear, written warranty terms with a defined coverage period
- A staged estimate process that lets you approve each step
Red flags that should send you elsewhere:
- Vague or verbal-only warranty with no written terms
- No diagnostic photos or documentation offered
- Requests for full payment upfront with no receipt or estimate
- Refusal to confirm whether board work is done in-house
- No posted pricing and no estimate before work starts
Before you drop off or ship the console:
Back up save data to PS Plus cloud or a USB drive. Record the serial number (on the back of the console) and the model number. Remove any external storage drives. Photograph the console and the port damage from multiple angles. That documentation protects you and speeds up the diagnostic.
Key Takeaways
A PS5 HDMI port can be repaired, but ruling out cable, display, and settings issues first saves time and money. If hardware failure is confirmed, a professional repair shop with board-level capability is the safest and fastest path for most out-of-warranty PS5 owners.
| Point | Details |
|---|---|
| Run diagnostics first | Test cable, bypass pass-through devices, try Safe Mode video change before assuming hardware failure. |
| Two repair methods exist | Connector replacement covers most cases; board-level micro-soldering is needed when traces or chips are damaged. |
| Professional shop is the best middle ground | Faster than Sony, safer than DIY, with transparent pricing and a repair warranty. |
| DIY requires real tools and experience | A hot air rework station and micro-soldering skills are non-negotiable; parts-only cost is —. |
| Kronnos-technology is the recommended repair option | Handles PS5 HDMI port repairs with board-level diagnostics, OEM-equivalent parts, and a clear repair warranty. |
Why professional repair is almost always the right call for PS5 HDMI problems
The most common mistake I see in PS5 HDMI cases is owners treating the connector as an isolated component. It isn’t. The HDMI jack on a PS5 sits on a multilayer board with tight component spacing, and the solder joints that hold it are small enough that a slight misalignment of the hot air nozzle can lift a pad or reflow a nearby component you didn’t intend to touch.
What makes this worse is that the damage from a bad DIY attempt often isn’t visible until the board is under magnification. A lifted pad looks fine to the naked eye. A hairline crack in a trace doesn’t show up until the board flexes slightly under heat. By the time a technician sees the console after a failed DIY attempt, they’re now solving two problems: the original connector fault and whatever the rework introduced. That second problem is almost always more expensive than the first would have been.
The other thing worth saying plainly: most HDMI port failures on PS5 are mechanical. A plug pulled at an angle, a cable tripped over, a console moved while something was plugged in. That kind of damage is almost always a clean connector swap when a qualified technician handles it. It becomes complicated only when the wrong tools or technique are applied.
Kronnos-technology’s approach is to stage the repair: diagnose first, replace the connector if that’s sufficient, and escalate to board-level work only when the teardown shows it’s necessary. That keeps costs predictable and means you’re not paying for work that wasn’t needed.
Kronnos-technology handles PS5 HDMI repairs so you don’t have to guess
Sending your PS5 to a shop you don’t know is a real concern. Kronnos-technology makes that decision easier: transparent pricing before any work starts, OEM-equivalent parts, and a written repair warranty on every job.
The service covers the full range of PS5 HDMI port issues, from straightforward connector replacements to board-level trace and component repair. Both local drop-off and mail-in options are available. To book a diagnostic, visit Kronnos-technology and provide your console’s serial number, model, a brief description of symptoms, and photos of the port if visible damage is present. Most diagnostics are completed within one business day of receipt.
Repair warranty terms and current turnaround estimates are listed on the services page. If you’re not sure whether your issue is hardware or software, the diagnostic will tell you. You only pay for repair work if you approve the estimate.
Useful sources and where to find parts and official support
Official PlayStation support and repair:
- PlayStation picture and sound troubleshooting — Sony’s official step-by-step guide for HDMI and video issues, including Safe Mode instructions and the PlayStation Repairs booking flow.
Kronnos-technology service and booking:
- Kronnos-technology home — service overview, contact, and booking for PS5 HDMI port repair (local drop-off and mail-in).
- Kronnos-technology services page — detailed repair offerings, warranty terms, and diagnostic booking.
Parts and tutorials:
- COMeap PS5 HDMI Port Replacement on Amazon — a commonly available two-pack kit for both standard PS5 and PS5 Slim. Verify your model number (CFI-1xxx or CFI-2xxx) before ordering.
- PS5 Slim HDMI Port Replacement video (YouTube) — a full teardown walkthrough. Prefer tutorials that show pad inspection and a post-repair output test.
- Technobezz PS5 HDMI troubleshooting guide — detailed diagnostic sequence and repair method overview.
Temporary workaround:
- If PS Remote Play was set up before the HDMI failed, it can provide temporary console access while you arrange a repair. It does not fix the port.