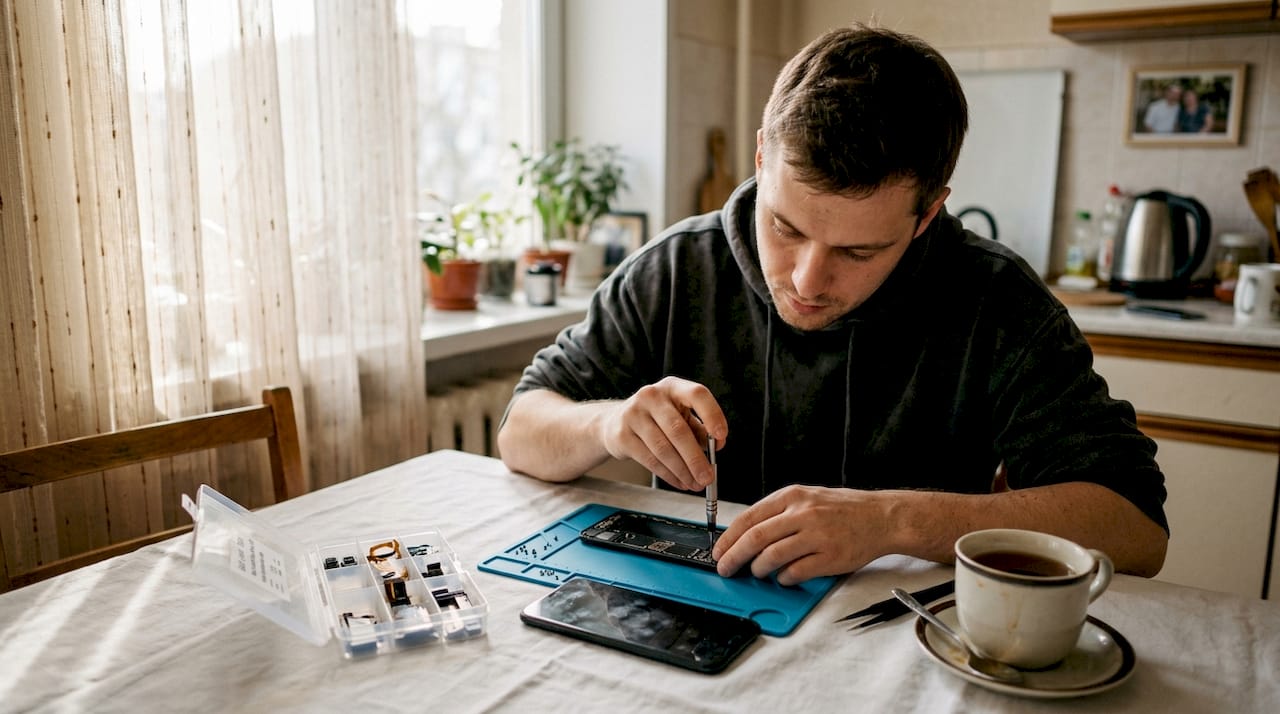

A cracked phone screen is one of those moments that stops you cold. One slip, one drop, and suddenly you are staring at a spiderweb of broken glass wondering whether to attempt a fix yourself or hand it over to a professional. Many people reach straight for a cheap repair kit online, hoping to save money and get back to normal quickly. But screen replacement is trickier than most guides admit. This article walks you through every essential stage, from gathering the right tools and genuine parts to testing your finished repair, so you can make a genuinely informed decision about whether to go it alone or seek expert help.
Table of Contents
- What you need before starting: tools, parts, and preparation
- Step-by-step phone screen replacement instructions
- Common mistakes and troubleshooting tips
- Aftercare: verifying your repair and ensuring longevity
- What most guides miss: knowing when not to DIY
- Need reliable screen replacement? Kronnos Technology can help
- Frequently asked questions
Key Takeaways
| Point | Details |
|---|---|
| DIY carries real risks | Screen replacement at home risks damaging components, voiding warranties, and causing future problems. |
| Genuine parts matter | Using parts suited to your exact model avoids further faults and ensures device reliability. |
| Professional repairs offer peace of mind | Professionals preserve warranties and device features, often saving time and providing better results. |
| Aftercare is crucial | Always check your device’s functions and durability after any repair to ensure long-term performance. |
What you need before starting: tools, parts, and preparation
Having introduced the risks and opportunities of replacement, let’s detail what you need before beginning. Getting this stage right is arguably more important than the repair itself. Skipping preparation is the single most common reason DIY repairs fail, and it can turn a cracked screen into a completely broken phone.

Essential tools
You will need a specific set of tools to avoid damaging delicate internal components:
- Precision screwdrivers (Phillips and Pentalobe heads, depending on your device)
- Suction cup for lifting the screen away from the frame
- Spudgers (plastic prying tools) to separate adhesive bonds without scratching
- Tweezers for handling tiny connectors and screws
- Anti-static wrist strap to prevent electrostatic discharge damaging your motherboard
- Isopropyl alcohol and lint-free cloths for cleaning adhesive residue
- Heat gun or hairdryer to soften the adhesive holding the screen in place
Choosing the right replacement screen
The part you buy matters enormously. Always match the replacement screen to your exact device model, not just the brand. Genuine or OEM (original equipment manufacturer) screens preserve colour accuracy, touch sensitivity, and brightness in a way that cheap third-party panels simply cannot. A poor-quality screen may show washed-out colours, reduced brightness, or even fail within weeks.
| Preparation step | Why it matters |
|---|---|
| Power off the device | Prevents short circuits during repair |
| Remove SIM tray | Avoids damage to the tray slot |
| Ground yourself (anti-static) | Protects sensitive components |
| Clear, well-lit workspace | Reduces risk of losing screws or parts |
| Back up all data | Safeguards your files before any risk |
Pro Tip: Lay a white sheet of paper on your workspace and place each screw on it as you remove it, in the order and position it came from. This simple trick prevents the nightmare of reassembling with leftover screws.
One critical warning: DIY risks include damaging fragile ribbon cables, losing water resistance, voiding your warranty, and creating a potential battery fire hazard. If any of these consequences would be unacceptable, it is worth considering professional help at Kronnos Technology before you begin.
Step-by-step phone screen replacement instructions
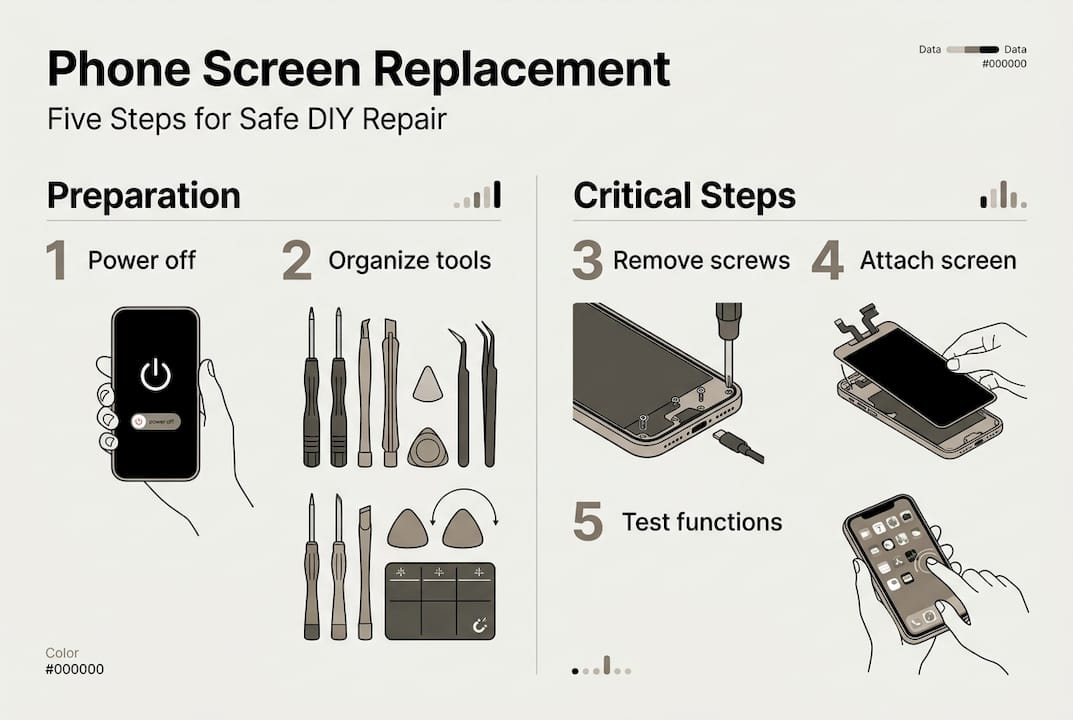
Once you have gathered everything and prepped your space, follow these step-by-step instructions carefully. Rushing any single stage can undo all your preparation.
- Remove the SIM tray using the ejector pin, then set it aside safely.
- Apply gentle heat around the screen edges for 60 to 90 seconds to soften the adhesive bond.
- Attach the suction cup near the bottom of the screen and pull upward with steady, even pressure while inserting a spudger into the gap.
- Work the spudger around the edges slowly, releasing adhesive clips as you go. Never force it.
- Open the phone like a book, hinging from the bottom. Do not pull the screen fully away yet as cables are still attached.
- Disconnect the battery connector first, before touching any other cable. This is non-negotiable for safety.
- Detach the screen ribbon cables by unclipping their connectors carefully with a spudger.
- Remove the old screen and place it aside.
- Clean the frame thoroughly with isopropyl alcohol to remove old adhesive and dust.
- Connect the new screen’s ribbon cables, press the connectors firmly until they click.
- Reconnect the battery, then power on briefly to test the display before sealing.
- Apply new adhesive or pre-cut tape, then press the screen into the frame evenly and hold for two minutes.
Safety warning: Never skip disconnecting the battery before handling internal cables. Failing to do so risks short-circuiting your device, damaging the motherboard, or in rare cases, causing the battery to swell or catch fire. If you notice a swollen battery at any point, stop immediately and seek professional disposal.
Common failures include dust trapped under the new screen, touch sensitivity issues, and sensor misalignment, particularly for beginners unfamiliar with the precise tolerances involved.
| Repair stage | DIY reliability | Professional reliability |
|---|---|---|
| Screen attachment | Moderate | High |
| Sensor alignment | Low | High |
| Waterproof re-sealing | Low | High |
| Biometric calibration | Very low | High |
| Cable reconnection | Moderate | High |
The table above makes clear why certain repairs, especially on flagship devices with Face ID or fingerprint sensors embedded in the display, are genuinely high-risk for anyone without specialist training.
Common mistakes and troubleshooting tips
Following the instructions is critical, but so is knowing what can go wrong and how to put it right. Even experienced DIY enthusiasts make these errors.
The most frequent mistakes
- Tearing ribbon cables by opening the phone too wide or pulling at the wrong angle
- Leaving dust or fingerprints between the frame and new screen, causing visible smudges under the glass
- Loose connectors that were not pressed in firmly enough, resulting in a blank or flickering display
- Skipping the battery disconnect, which risks electrical damage to the entire logic board
- Using too much heat, which can warp the frame or damage the battery
- Forgetting to re-seal properly, which destroys any water resistance the phone originally had
Touch issues and sensor misalignment are frequent following DIY attempts, particularly on devices where the proximity sensor, ambient light sensor, and front camera are embedded in a single assembly.
Statistic to note: Studies indicate that a significant proportion of DIY phone repairs result in secondary damage, meaning the repair ends up costing more than a professional fix would have in the first place.
How to troubleshoot after reassembly
If your screen is blank after reassembly, power off, reopen the device, and reseat every connector. A blank screen is almost always a loose cable rather than a faulty part. If touch is unresponsive in certain areas, dust or a misaligned digitiser (the touch-sensitive layer) is usually the culprit.
For biometric functions such as Face ID or an in-display fingerprint reader, these often require professional calibration tools that are not available to consumers. If these features stop working after your repair, a professional technician is your only reliable option.
Pro Tip: Before fully sealing the phone, power it on with the screen held loosely in place and test every function. It is far easier to fix a loose connector now than to reopen a fully sealed device.
Aftercare: verifying your repair and ensuring longevity
With common pitfalls covered, finish by ensuring your repair yields the safest, most durable result. A successful screen swap is not just about the display looking good on day one.
Post-repair verification checklist
- Display quality: Check for dead pixels, uneven backlighting, or colour banding across the screen.
- Touch responsiveness: Swipe across every corner and edge. Test multi-touch gestures.
- Front camera: Open the camera app and check for focus and clarity.
- Proximity sensor: Make a call and hold the phone to your ear. The screen should turn off automatically.
- Ambient light sensor: Move between bright and dim environments and confirm auto-brightness adjusts.
- Biometrics: Attempt Face ID or fingerprint unlock and note any failures.
- Speaker and earpiece: Play audio and make a test call to confirm sound quality.
Professional repairs help maintain water resistance and ensure correct sensor alignment, two outcomes that are genuinely difficult to guarantee with a DIY approach.
Protecting your new screen
Once verified, fit a quality tempered glass screen protector immediately. This single step dramatically reduces the risk of your new screen suffering the same fate as the old one. A well-fitted case that covers the edges adds another layer of protection.
Avoid exposing the phone to water for at least 24 hours after repair, even if your device is rated water-resistant. The adhesive needs time to cure fully before it provides any meaningful seal.
Pro Tip: Set a reminder to check your screen protector every three months. A cracked protector that is left in place can scratch the new screen underneath, defeating its purpose entirely.
If any sensor or biometric feature fails to work correctly after a week of normal use, do not ignore it. Seek help from Kronnos Technology to diagnose whether the issue is a faulty part, a calibration problem, or a deeper hardware fault.
What most guides miss: knowing when not to DIY
Most online guides present screen replacement as a straightforward weekend project, but that framing understates the real difficulty, particularly with modern flagship phones. Devices from 2022 onwards frequently use OLED displays bonded directly to the frame, in-display fingerprint sensors, and multi-layer waterproofing that requires specialist equipment to restore properly.
Cutting costs by purchasing a non-genuine screen or skipping professional labour is often a false economy. A cheap panel may fail within months, and a poorly re-sealed device that gets water damage will cost far more to repair than the original screen replacement would have. High risk for beginners, especially on devices with biometrics or waterproofing, is a reality that most guides quietly gloss over.
For business owners relying on a phone for daily operations, the calculation is even clearer. Downtime, data risk, and the possibility of a botched repair all carry a real cost. In these situations, the professional services at Kronnos Technology are not a luxury. They are simply the sensible choice.
Need reliable screen replacement? Kronnos Technology can help
If all this sounds daunting, or you would simply prefer the peace of mind that comes with a guaranteed result, professional repair is the straightforward answer.
At Kronnos Technology, we use genuine parts, maintain your device’s water resistance where possible, and ensure every sensor and biometric function works correctly after the repair. Our screen replacement services are priced to be accessible for individuals and small businesses alike, with fast turnaround times so you are not left without your device for days. Whether you have a single cracked screen or a fleet of business devices needing attention, we offer straightforward, affordable solutions with no hidden costs.
Frequently asked questions
Is it worth replacing a phone screen yourself?
It is possible for those with experience, but high risk for beginners, especially on devices with biometrics or waterproofing. Professional help is usually safer and more reliable for most people.
Will replacing my screen myself void my warranty?
DIY repairs can void your manufacturer’s warranty in most cases, as unauthorised repairs breach standard warranty terms.
What are the dangers of replacing a phone screen?
DIY risks include damaging fragile ribbon cables, losing your device’s IP water-resistance rating, and in rare cases, causing a battery fire if the battery is punctured or short-circuited.
How can I tell if my screen repair succeeded?
Test your display, touch sensitivity, all sensors, and biometric functions thoroughly. DIY repairs can lead to touch issues and sensor misalignment that may not be immediately obvious but become apparent with regular use.